
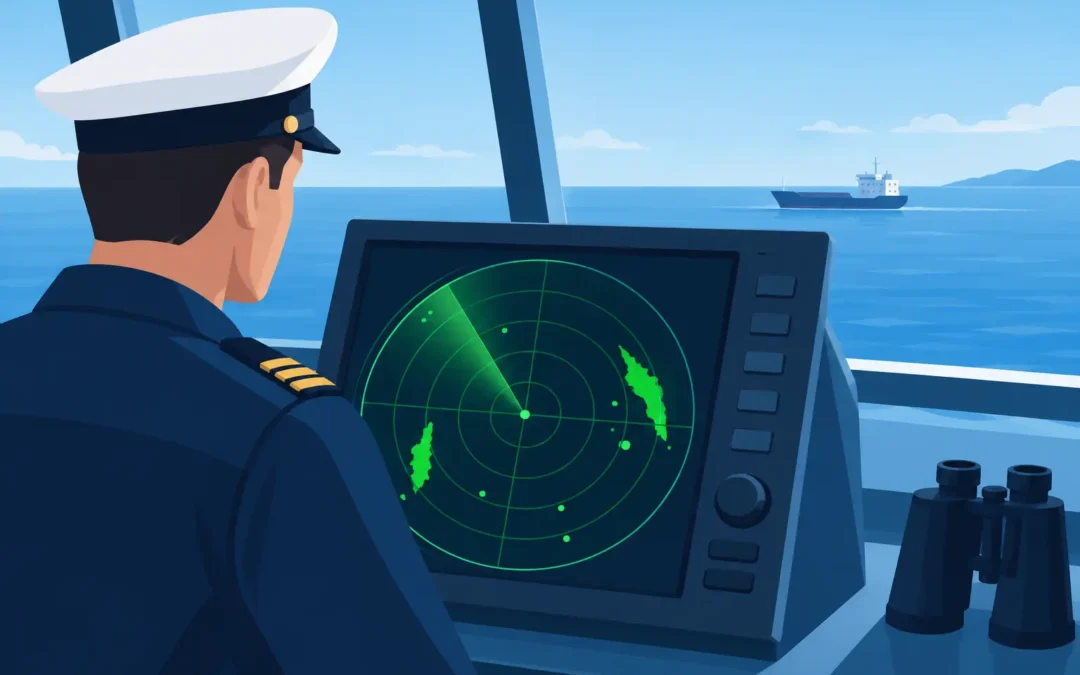
A radar display can look straightforward until an assessor points to an echo and asks, “What is its range, bearing and risk?” Knowing how to interpret radar ranges is not just about reading a number on the screen. It is about selecting the right scale, understanding what the picture is showing and making safe decisions before a close-quarters situation develops.
For Coxswain and Master candidates, radar questions commonly move from basic display knowledge into practical use. You may be asked to explain range rings, variable range markers, electronic bearing lines, target acquisition or the limitations of radar in rain, clutter and restricted visibility. A confident answer connects the equipment to the job of keeping a safe watch.
Start with the selected range scale
The range scale is the distance from the centre of the radar display, usually your vessel’s position, to the outer edge of the screen. If the radar is set to a 6 nautical mile range, the outside of the display represents six nautical miles from own ship.
This does not mean every target shown is six nautical miles away. It means the display area covers distances from zero at the centre to six nautical miles at the edge. A target halfway between the centre and the outer edge is approximately three nautical miles away, provided the target is on the same radial line and you are using the display correctly.
Most marine radars show fixed range rings. These are concentric circles around own ship that divide the selected range into equal intervals. On a 6 nautical mile scale, you may see rings every one nautical mile, or perhaps every half mile depending on the equipment and its settings. Read the ring interval from the display rather than assuming it. This is a simple point, but it is a common place for an avoidable assessment error.
A good working explanation is: the selected range tells me the maximum range displayed, and the fixed range rings provide an approximate distance to a target. For a more accurate measurement, I use a variable range marker.
Use the right tool for the accuracy required
Fixed range rings are useful for a quick appreciation of where traffic, land and navigational marks sit around the vessel. They are not the best choice when you need a precise range for collision avoidance, a radar fix or a plotted target.
The variable range marker, often called a VRM, is an adjustable circle centred on own ship. Move the circle until it passes through the target echo, then read the range shown by the radar. This gives a more accurate distance from your vessel to the target.
To obtain the target’s bearing as well, use an electronic bearing line, or EBL. The EBL is a line extending from the centre of the display. Place it through the echo and read the bearing. Together, the VRM and EBL provide a range and bearing that can be recorded, plotted or compared over time.
For example, if the VRM reads 2.4 nautical miles and the EBL reads 045 degrees, the target is 2.4 nautical miles away on a bearing of 045 degrees from own ship. Whether that bearing is true or relative depends on how the radar is set up. Never assume. Check the presentation mode and heading reference before reporting or plotting the information.
Choose a range scale that suits the situation
A radar scale is not a set-and-forget control. The best scale depends on where you are operating, your speed, visibility, traffic density and the task at hand.
On passage in open water, a longer range such as 12, 24 or 48 nautical miles may help you identify land, weather, larger vessels and developing traffic patterns. In confined waters, during an approach to a berth, or when manoeuvring among small craft, a shorter scale gives more useful detail close to the vessel.
There is a trade-off. A long range scale can make nearby targets appear very close together on the display, particularly when traffic is congested. A short range scale can hide a fast-approaching vessel until it is already much closer than you would like. Good watchkeeping means changing scales as the circumstances change, rather than relying on one view.
Many experienced operators scan more than one scale. They may use a longer scale to maintain general awareness and a shorter scale to assess immediate collision risk. On an assessment, this shows that you understand radar as a decision-making aid, not simply an electronic chart of the sea.
How to interpret radar ranges for collision avoidance
A single radar range tells you where a target is now. It does not tell you whether the target will pass safely ahead, safely astern or dangerously close. For that, you need to observe the target over time.
Take an initial range and bearing, then repeat the measurement after an appropriate interval. If the bearing remains steady while the range reduces, risk of collision may exist. This is the practical meaning behind the rule that constant bearing and decreasing range indicates danger.
Suppose a vessel is first observed at 5 nautical miles on a relative bearing of 030 degrees. Six minutes later it is at 3.5 nautical miles and still on 030 degrees. The reducing range shows the vessels are closing, while the steady bearing suggests the other vessel may be on a collision course. You need to assess the situation early, apply the collision regulations and make a clear, positive alteration if required.
Automatic radar plotting aid functions can calculate closest point of approach, known as CPA, and time to CPA. These are valuable tools, but only when the target has been correctly acquired and tracked and the inputs are reliable. Check the target visually where possible, compare it with AIS information if available and continue to monitor it. ARPA and AIS support the watchkeeper – they do not replace sound judgement.
Know what can make a range misleading
Radar measures distance by timing the return of a transmitted pulse. That sounds exact, but the quality of the target echo still matters. A small fibreglass vessel, a low-profile aluminium dinghy or a navigation buoy may give a weak or intermittent return. A large ship, headland or rain cell may create a much stronger return than its operational importance warrants.
Sea clutter can obscure targets close to own ship, particularly in rough conditions. Rain clutter can hide weak echoes farther away. Incorrect gain, sea clutter or rain clutter settings can either mask targets or fill the screen with noise. If you are asked about this in an oral assessment, explain that you adjust controls carefully to obtain the clearest useful picture without suppressing genuine targets.
Radar horizon also matters. A radar cannot reliably see through the curvature of the earth, and detection range is affected by the height of both radar aerials and targets. A high ship or a tall headland may appear well beyond the range at which a small vessel becomes visible. Do not treat a clear radar screen as proof that no danger exists.
Blind sectors created by masts, exhausts, deck cargo or vessel structure can also conceal echoes. Know the limitations of the radar fitted to the vessel you operate. A competent Master or Coxswain considers these limitations before relying on the display.
Presentation mode changes what you are seeing
The range reading from a VRM remains a distance from own ship, but the movement of echoes can look very different depending on the radar presentation mode.
In relative motion, own ship is normally held near the centre and other targets move relative to your vessel. A stationary object such as land may appear to move across the display as your vessel proceeds. This is often the most useful mode for quickly assessing collision risk.
In true motion, fixed objects remain relatively stationary and own ship moves across the display according to its course and speed. This can provide a useful overall picture of the vessel’s progress, but you still need to understand the selected orientation, whether north-up, course-up or head-up, before giving bearings or making a manoeuvring decision.
If you lose confidence in what the display is telling you, go back to the fundamentals: identify own ship position, check the selected range, confirm the orientation and measure the target with VRM and EBL. That disciplined approach is far safer than guessing.
Build assessment confidence through practical practice
For an AMSA final assessment, be ready to describe the process aloud. An assessor may show you a radar image and ask what range scale is selected, the interval between range rings, the range and bearing of a target, or whether collision risk exists. They may then ask what action you would take and why.
Practise working from screenshots, radar plotting sheets and realistic scenarios. Say your answers out loud. Start with the information you can verify, then explain your judgement: “The radar is on a six nautical mile scale. The target is approximately two nautical miles away. I would use the VRM and EBL for an accurate range and bearing, then monitor the target to establish CPA and collision risk.”
This approach is clear, methodical and directly relevant to safe vessel operation. If radar ranges or plotting are a weak point after time away from study, targeted one-on-one revision can turn a stressful question into a familiar routine. The aim is not to recite radar terms. It is to demonstrate that, when visibility closes in and traffic is moving, you can interpret the picture and make the safe call.