
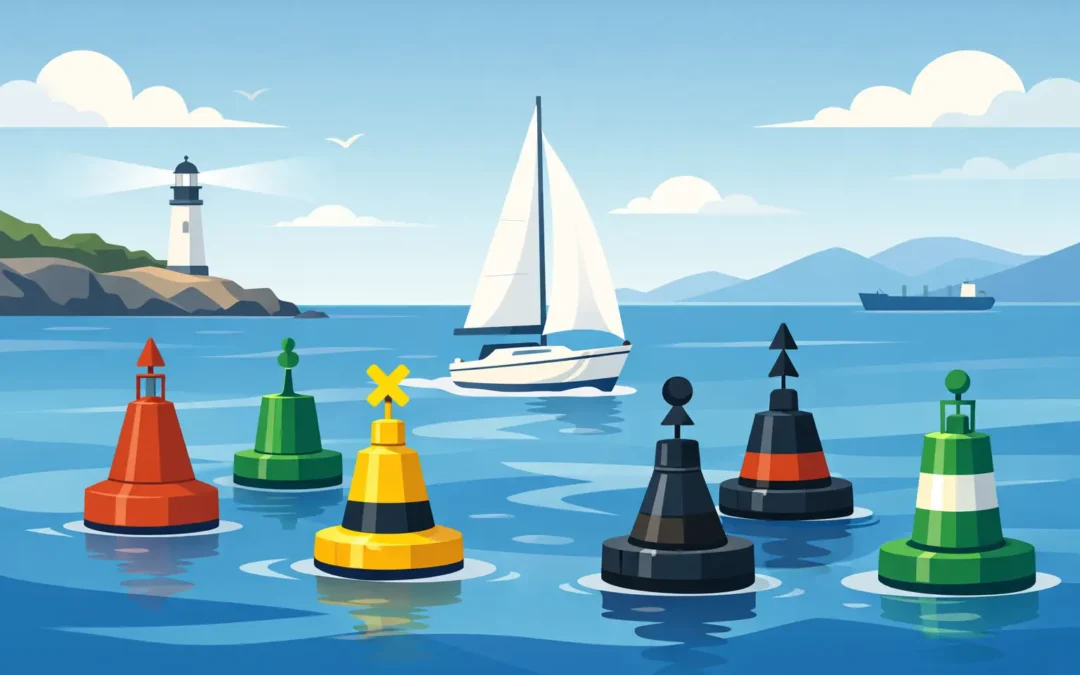
A channel marker is not just something to pass on the correct side. It is a compact piece of navigational information that may tell you where the deep water lies, where a danger sits, or which route is preferred at a junction. Having the IALA buoyage system explained properly is essential for Coxswain and Master candidates, but it is equally important when you are taking a workboat, fishing vessel, ferry or rescue vessel into confined water at night.
For Australian operators, the starting point is straightforward: Australia uses IALA Region A. The detail matters, though. Assessment candidates can often recall that port is red and starboard is green, then become unsure when asked about conventional direction of buoyage, preferred-channel marks, cardinal lights or what must be checked on the chart before acting on a buoy.
IALA buoyage system explained: what it is for
The IALA Maritime Buoyage System creates a common language for marks, lights, colours and topmarks. It helps a skipper identify the side of a channel, the position of an isolated danger, safe water, special-purpose areas and the direction in which to pass a hazard.
It does not replace passage planning. A buoy may be off station, damaged, unlit or temporarily removed. A light can be obscured by rain, background shore lighting or vessel structure. Depth can also change, particularly in rivers, bar entrances and dredged channels. Your chart, notices to mariners, local directions, tides and a proper visual lookout remain part of the decision-making process.
For an AMSA assessment, be ready to explain not only what a mark looks like, but what action you would take. An assessor is testing whether you can turn recognition into safe vessel operation.
Region A lateral marks in Australian waters
Lateral marks identify the sides of a channel according to the conventional direction of buoyage. In general, this direction is from seaward towards a harbour, river, estuary or other inland waterway. On a river, it is commonly upstream. Do not rely on a general rule alone, however. Confirm the direction shown on the chart or in local information, especially where a channel has bends, branches or a non-obvious entrance.
In Region A, when travelling in the conventional direction of buoyage, keep a red port-hand mark to port and a green starboard-hand mark to starboard.
A port-hand mark is generally red, with a can shape where a shape is used, and may carry a red cylindrical topmark. Its light, if fitted, is red. A starboard-hand mark is generally green, with a conical shape where fitted, and may carry a green conical topmark pointing upwards. Its light is green.
That sounds simple in daylight, but candidates should avoid learning colour alone. Shape, topmark, chart symbol and light characteristic all provide confirmation. If a buoy’s paint is faded or you are approaching from an unusual direction, a single cue can be misleading.
Preferred-channel marks at junctions
Where a channel divides, a modified lateral mark indicates the preferred channel. In Region A, a red port-hand mark with one broad green horizontal band indicates that the preferred channel is to starboard. A green starboard-hand mark with one broad red horizontal band indicates that the preferred channel is to port.
The light, where fitted, follows the base colour and normally uses a composite group flashing rhythm of two flashes followed by one flash. In practical terms, look at the chart before you reach the junction. The mark tells you the preferred route, but the chart tells you where that route leads, its available depth and whether it suits your vessel’s draught and intended destination.
Cardinal marks: pass on the named side
Cardinal marks are used around dangers such as rocks, wrecks, shoals and obstructions. Unlike lateral marks, they do not mark the edges of a channel. Instead, they tell you where the safest water lies in relation to the mark itself.
A north cardinal mark means safe water is north of the mark, so pass north of it. An east cardinal means pass east, a south cardinal means pass south, and a west cardinal means pass west. This is the key operational answer expected in an oral assessment.
The black and yellow bands, twin black cone topmarks and white flashing lights identify the four cardinal marks:
- North: black over yellow, with both cones pointing up. Its light is continuous quick or very quick flashing.
- East: black, yellow, black, with the cones base-to-base. Its light flashes three times.
- South: yellow over black, with both cones pointing down. Its light flashes six times followed by one long flash.
- West: yellow, black, yellow, with the cones point-to-point. Its light flashes nine times.
The light sequence is easier to remember as a clock face: east is three, south is six plus a long flash, and west is nine. North is continuous because it sits at the top of the clock. This memory aid is useful, but make sure you can describe the actual safe-passing action without hesitation.
Other marks you must recognise
Several marks do not fit neatly into the lateral or cardinal categories, yet they are regularly tested because they can represent immediate navigational risk.
An isolated danger mark is placed on, or near, a danger that has navigable water all around it. It is black with one or more broad red horizontal bands and carries two black spheres as topmarks. If lit, it shows a white group flashing light of two flashes. Do not treat this as an invitation to pass close by. Give it appropriate clearance, assess the charted danger and consider your vessel’s draught, sea state and manoeuvring room.
A safe water mark indicates that there is navigable water all around the mark. It is red and white in vertical stripes and normally carries a single red sphere topmark. You may see it at a channel centreline, mid-channel, landfall or fairway. Its light, where fitted, is white and may be isophase, occulting, one long flash every 10 seconds, or the Morse letter A.
A special mark is yellow and commonly carries a yellow X topmark. It identifies an area or feature described on the chart, such as a spoil ground, aquaculture area, recreation zone, pipeline, cable, outfall or traffic-separation feature. Its yellow light, if fitted, does not make the area safe to enter. The meaning depends on the charted purpose of the mark.
You may also encounter an emergency wreck marking buoy, with vertical blue and yellow stripes and an alternating blue and yellow light. It is deployed to mark a newly identified wreck and should be treated with particular caution. A new hazard can appear before every chart system, notice or local operator has caught up.
Reading marks at night and in reduced visibility
At night, colour and flashing rhythm become more significant, but they should never be your only reference. Check the charted light character, its nominal range, the bearing of the light and your vessel’s position. A red light on shore may look like a port-hand mark until you compare it against your chart and electronic position information.
Reduced visibility changes the problem again. A buoy may not be visible until you are close, and radar may show a target without telling you exactly which mark it is. Slow down early, post a proper lookout, use radar and electronic aids competently, monitor depth where suitable, and be ready to abort an approach if the available information does not match the plan.
For commercial operators, this is where buoyage knowledge connects directly with safe watchkeeping. Knowing the textbook answer is not enough if you continue at a speed that leaves no time to identify an unexpected mark, check its meaning and manoeuvre safely.
How to prepare for buoyage questions in an assessment
A common assessment question begins with a picture of a buoy, then develops into a practical scenario: “What is it?”, “What does it mean?”, “Which side will you pass?”, and “What would you check next?” Practise answering in that order.
Start by identifying the mark from its colour, shape, topmark and light. State the conventional direction of buoyage if lateral marks are involved. Explain the safe side to pass, then add the operational checks: charted depth, tide, local notices, other traffic, weather and the vessel’s manoeuvring limitations.
It is worth practicing from both directions. A candidate may correctly identify a red port-hand buoy but answer incorrectly because they have not established whether they are travelling in, or against, the conventional direction of buoyage. Drawing a simple channel on paper and placing your vessel on it is often more effective than trying to memorise isolated statements.
At True North Marine Training, buoyage revision is most useful when it is worked through as practical questioning rather than passive reading. You need to be comfortable explaining your reasoning out loud, particularly if you are returning to study after time at sea or preparing for an oral final assessment.
Next time you see a mark, pause long enough to ask yourself three questions: what is it, what does it tell me, and what will I do because of it? Building that habit on every passage is one of the simplest ways to turn assessment knowledge into confident command.
For more information or assistance please email maritimetutor@yahoo.com or visit our website at https://www.truenorthmarine.com.au